Customizing WordPress #11 – Adding and Displaying Menu Locations continues the outstanding tutorial series by
LevelUpTuts
Published on Apr 8, 2014
The 11th video in the Customizing WordPress tutorial series. Here we add a new menu area and show how to display it in your templates.
And he gives a link to the relevant part of the WordPress Codex: Navigation Menus :
Navigation Menu is a theme feature introduced with Version 3.0. WordPress includes an easy to use mechanism for introducing customised navigation menus into a theme. In order to incorporate menu support into your theme, you need to add a few code segments to your theme files.
So today we’re going to register a new
menu item to our child functions.php.
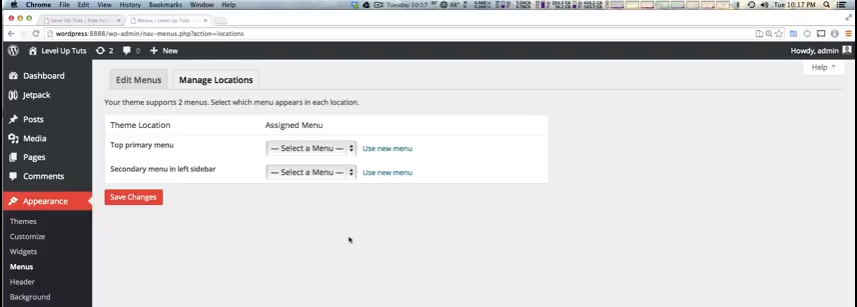
So here’s what we have on the 2014 theme out of the box.
So this theme has only two menu locations.
1:00: So how do we make a new theme location where we can drop in our menu area just like we made a new widget area in our earlier video.
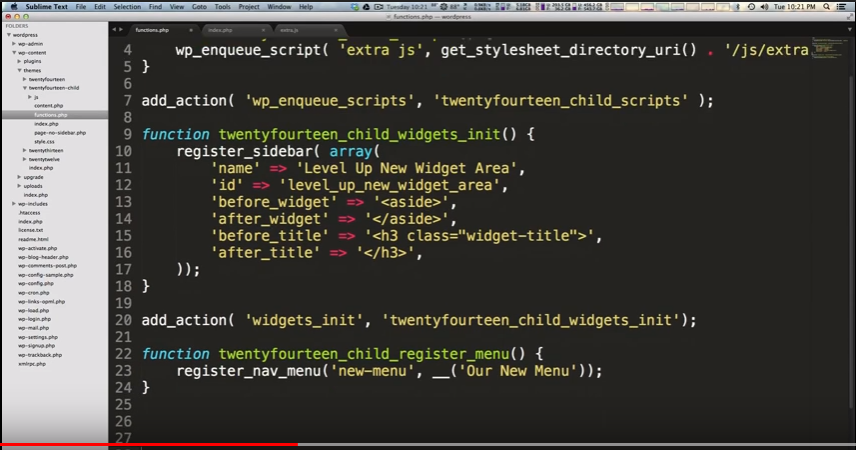
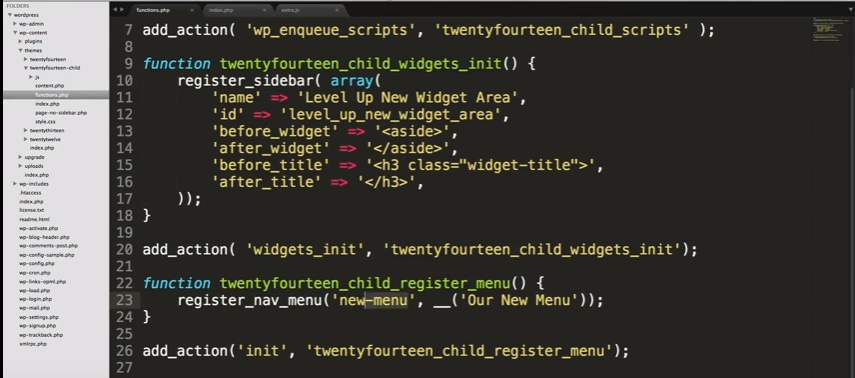
1:20 – 2:55: So we’re going to head to our (child) functions.php and here is what we do on lines 23 thru 25 is to create the function that creates our new menu area. And he explains it all in that time above.
2:55 – 3:30 Then we create our hook on line 26:
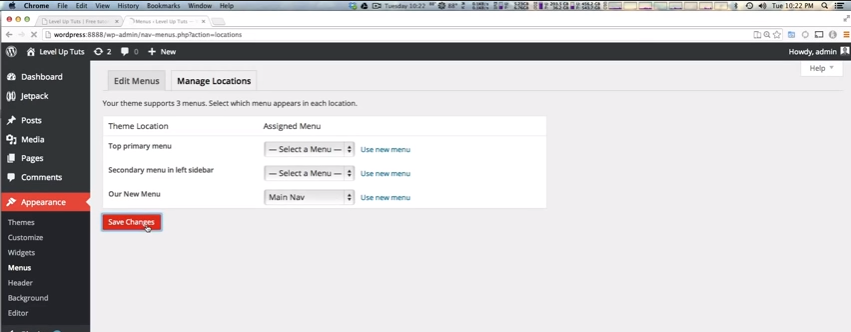
3:30 – 4:10 So when when we refresh our menu on the dashboard, we’ll see our new menu area. But it won’t display yet when we go to the front end of our site.
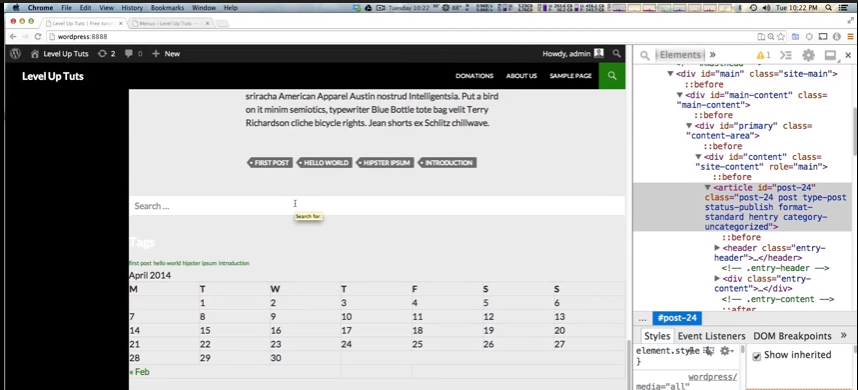
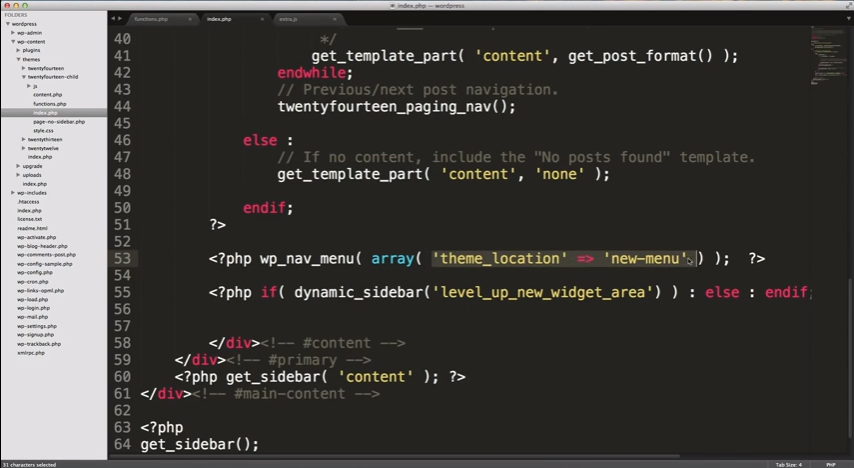
4:10 – 4:20 But we can put our new menu area where ever we want. We’ll put it above the search box. And to do so we’ll need to go to our (child) index.php file and add some code above line 55.
4:20 – To The End: So we put the code in line 53 of the (child) index.php just above the line of code on line 55 for the widget area that we created in the earlier video. This is how we get the menu to go where we want it to – above our new widget area. He explains what he is doing in this part of the video.

