
Customizing WordPress #9 – Adding New Widget Areas 9:06
LevelUpTuts
Published on Apr 8, 2014
The 9th video in the Customizing WordPress tutorial series. Here we add a new widget area to our theme.
See also Widgetizing Themes from the WordPress Codex:
What is Widgetizing?
Widgetizing is a pseudo word that describes the process of implementing Widgets and Widget Areas into your Theme.
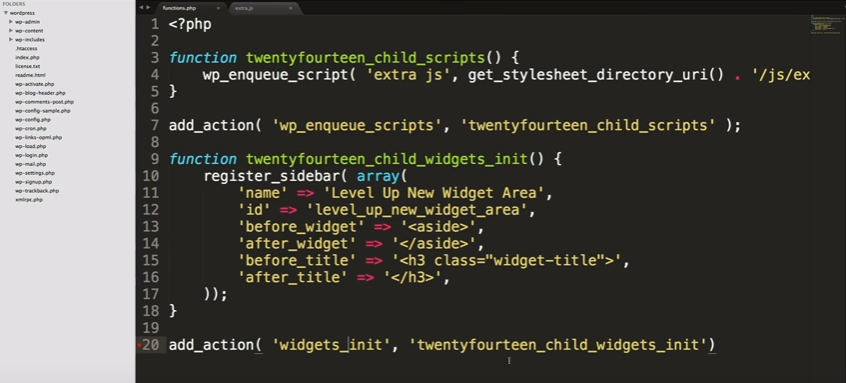
1:15 Go to your functions.php file and we’re going to start adding functions there.
So here is the end result. We’ve added a widget function [lines 9 – 18] and we’ve added a hook and called our function [line 20].
And now when we refresh our page, we now have our new widget area in our WP Dashboard Widgets page.
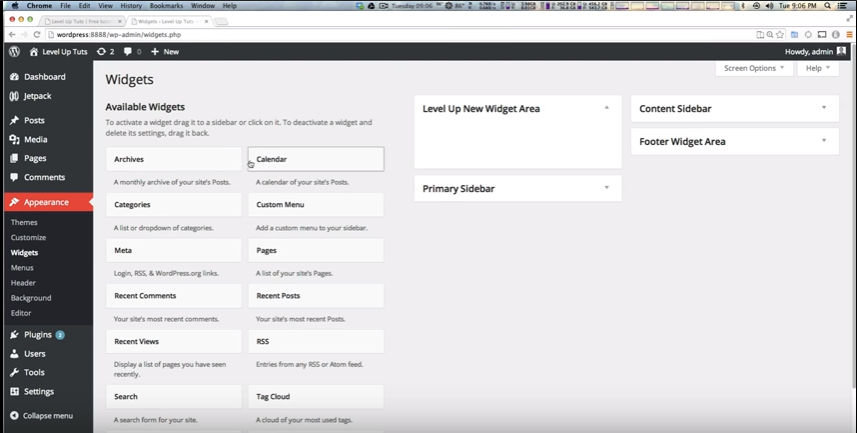
So we’ve added a new widget area to our theme.
But our new widget area will not display anywhere yet. Next we have to add a widget area to our template. And that is the subject of the next video.
_________________________________________________________
Customizing WordPress #10 – Adding A Widget Area To Your Template 8:44
LevelUpTuts
Published on Apr 8, 2014
The 10th video in the Customizing WordPress tutorial series. Here we find out how to display our new widget area on our site by adding it to our templates.
See also Widgets API from the WordPress Codex:
Widgets API
This page contains the technical documentation for the WordPress Widgets API and is written for developers. If you’re not a developer you may want to review the Widgets page.
In technical terms: a WordPress Widget is a PHP object that echoes string data to STDOUT when its widget() method is called. It’s located in
wp-includes/widgets.php.
In the previous video we added a widget area to our theme. And first we add some widgets to the new widget area so that we’ll have something to see when we finally get the new widget area to display.
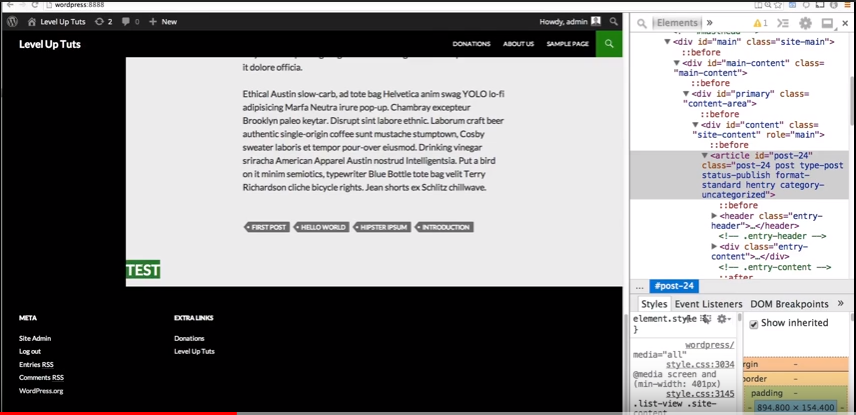
0:50 Here is where we want the widget area to be on our page:
And by using Chrome Tools we figure out where in this code we’ll be putting our widget code in the template.
We want our widget areas to be directly after our articles.
1:10 – He shows us how and where to find where we want to put out widget code.
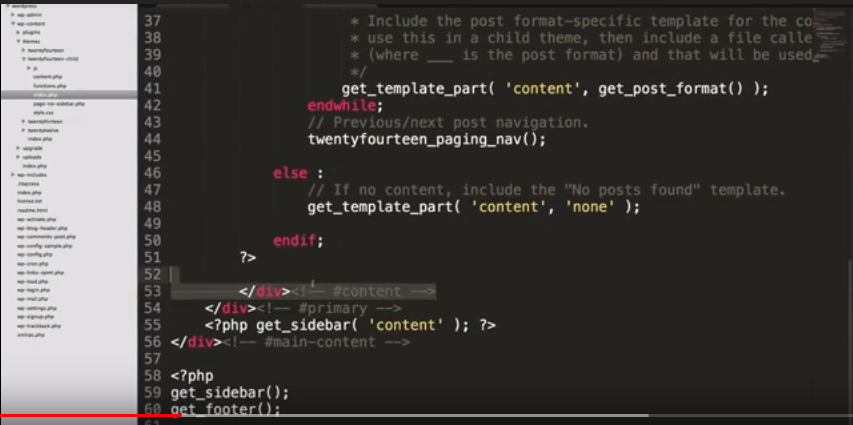
2:45 So we’ve found where we the thing the widget area should go in our child theme index.php which we created in an earlier video.
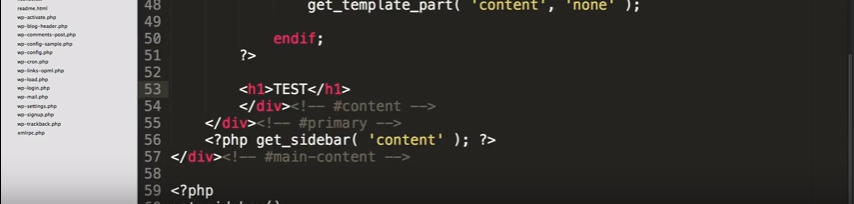
It goes just above the </div><! — #content –> below which is highlighted.
2:58 And to be sure we’re in the right place we first place a TEST just above that end div.
And we refresh our page and find that when we scroll down TEST is displayed in the correct place.
So now we know for sure where to put our widget code, we’ll delete TEST and put in the widget code.
3:15 So, how do we display our widgets?

4:10 So on line 53, which we know is the right place we’re going to insert our widget code via a line of php code. The code will be an if statement saying that if there is content in this widget area then show the widget area. Otherwise, don’t show the widget area.
4:25-6:00 So here is what we’re going to put inside the <?php ?> above. In this portion he explains everything in the php code in the image below on line 53.
[Consider dictating in this portion as it is an excellent introduction for people just learning php.]

6:00-6:50 He includes a link in the WordPress Codex in the YouTube show notes so that you can copy and paste the code. See WordPress Widgets and Widgets API from the WordPress Codex . And so now we can display our new sidebar.
6:50 And so instead of TEST (below):
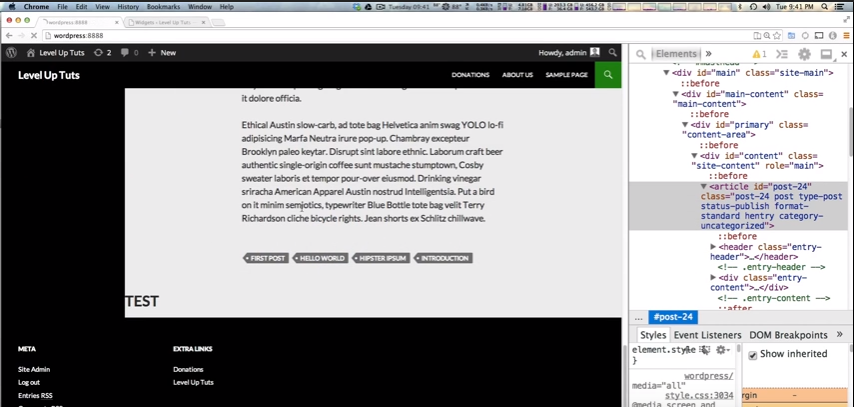
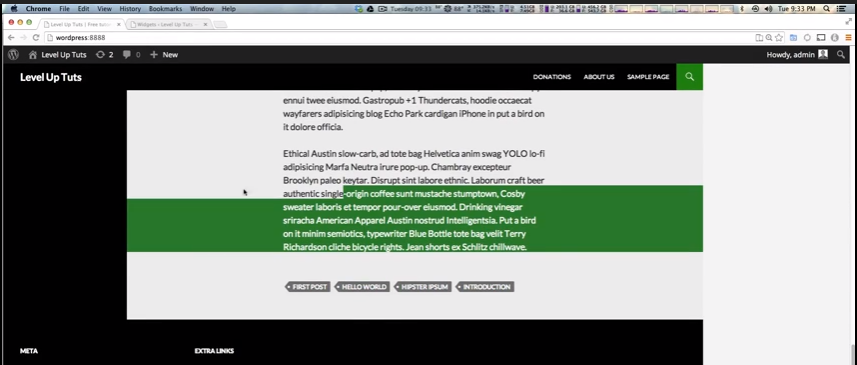
When we refresh our page, we see our new sidebar (below).
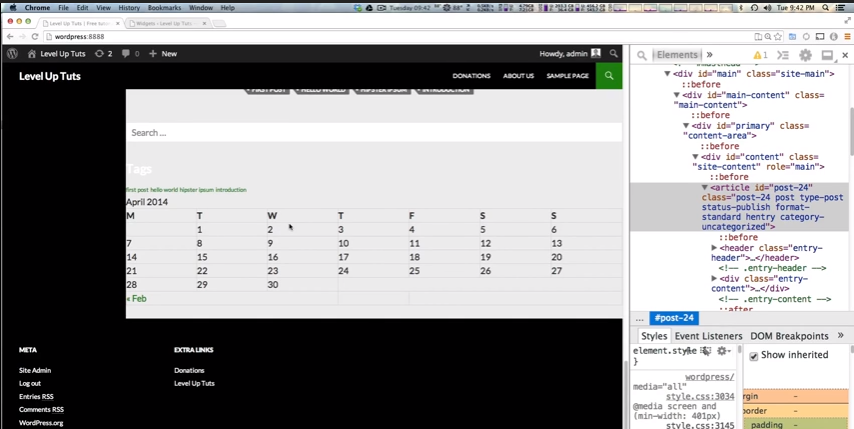
Now our widget area is here but it looks pretty awful because we didn’t write any CSS to style it. But we’ll style it later.
So what if you want to put the widget area in another page — well, you just go to the template of the page you want to include the widget area (in the child theme file) and place the line of code where you want it–.
And the author explained above, remember, how to find where the code goes in the template you’re working on.


